
This manual describes version 0.14.1-6 of GParted Live.
Copyright © 2011, 2012, 2013 Curtis Gedak
Permission is granted to copy, distribute and/or modify this document under the terms of the GNU Free Documentation License, Version 1.2 or any later version published by the Free Software Foundation; with no Invariant Sections, no Front-Cover Texts, and no Back-Cover Texts. You can find a copy of the GFDL at this link or at http://www.fsf.org/licensing/licenses/fdl.html or in the file COPYING-DOCS distributed with this manual.
Feedback
To report a bug or make a suggestion regarding GParted Live or this manual, follow the directions at http://gparted.org/bugs.php.
| Revision History | |
|---|---|
| Revision GParted Live Manual V1.2 | January 2013 |
Abstract
This manual describes how to use the GParted Live image from boot up to shut down.
Table of Contents
- Introduction
- Booting GParted Live
- Using GParted Live
- Finishing GParted Live Session
- Appendix A: Preparing BIOS
- Appendix B: Tips on Booting GParted Live
GParted Live is a small bootable GNU/Linux distribution for x86 based computers. GParted Live enables you to use all the features of the latest versions of the GParted application.
This manual describes how to use the GParted Live image, from boot up to shut down.
Tip
To learn how to write the GParted Live image to removable media, such as CD-ROM or a USB flash drive, see http://gparted.org/livecd.php.
This section describes how to boot up GParted Live on your computer.
If your computer does not boot from CD-ROM discs or USB flash drives, then see the section called “Appendix A: Preparing BIOS”.
To start GParted Live:
Power on your computer with the media containing GParted Live.
If using a USB flash drive, insert the USB flash drive into an open USB port and turn on the power for your computer.
If using a CD-ROM disc, turn on the power for your computer and quickly insert the CD-ROM disc in the CD-ROM tray of your computer.
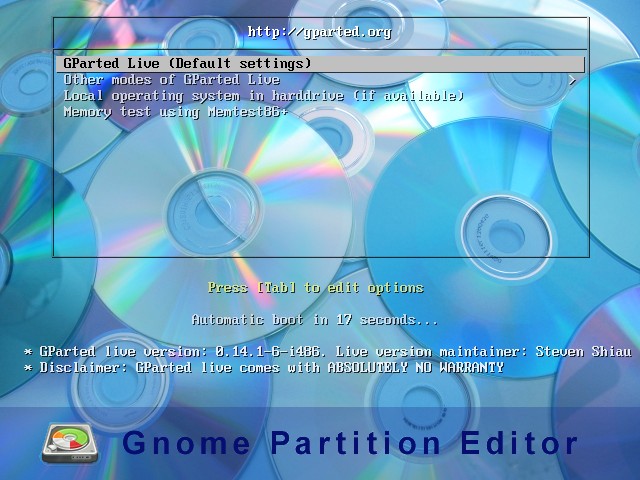
To use the default settings, press the Enter key when the GParted Live boot screen is displayed.
Tip
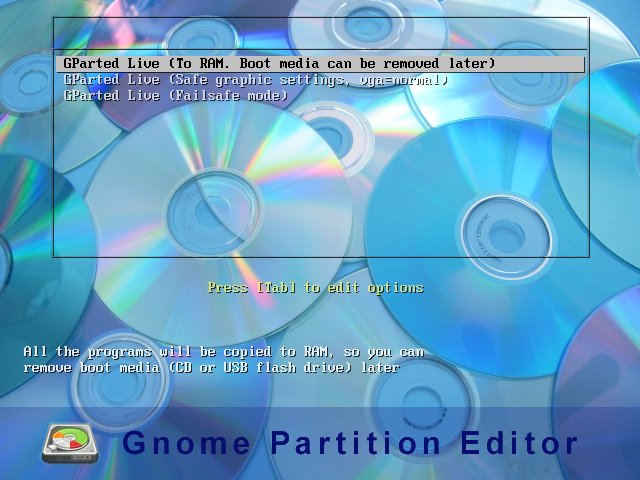
To use a different mode of GParted Live, use the Up arrow key or Down arrow key to select the mode. Press the Enter key to activate the mode.
For example, to use your CD-ROM R/W tray after booting GParted Live select the entry, and then select the entry.
To return to the default GParted Live boot screen, press the Escape key.
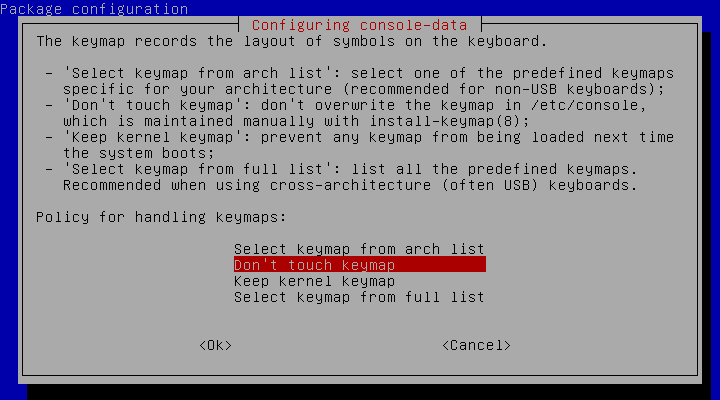
To use the standard US keymap, press the Enter key.
If you require a different keymap then use the Up arrow, Down arrow, and Enter keys to choose an appropriate keymap for your keyboard.
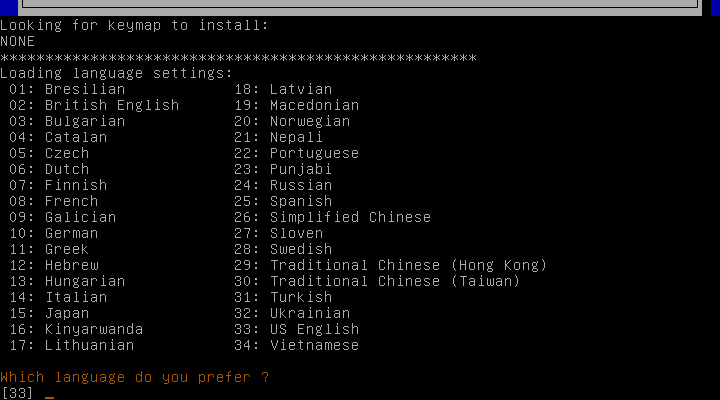
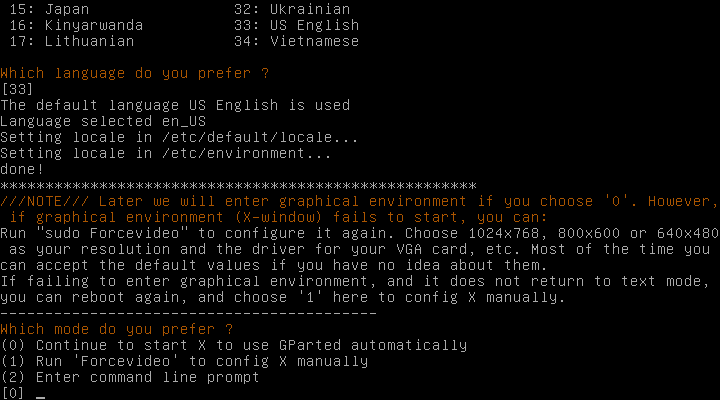
To use the US English language, press the Enter key.
If you desire a different language then type the number shown beside the langauge and press the Enter key.
To start up the default graphical environment and begin using the GParted application, press the Enter key.
You can now begin using the GParted application.
Note
If your computer is unable to display the default graphical environment, then see the section called “Appendix B: Tips on Booting GParted Live”.
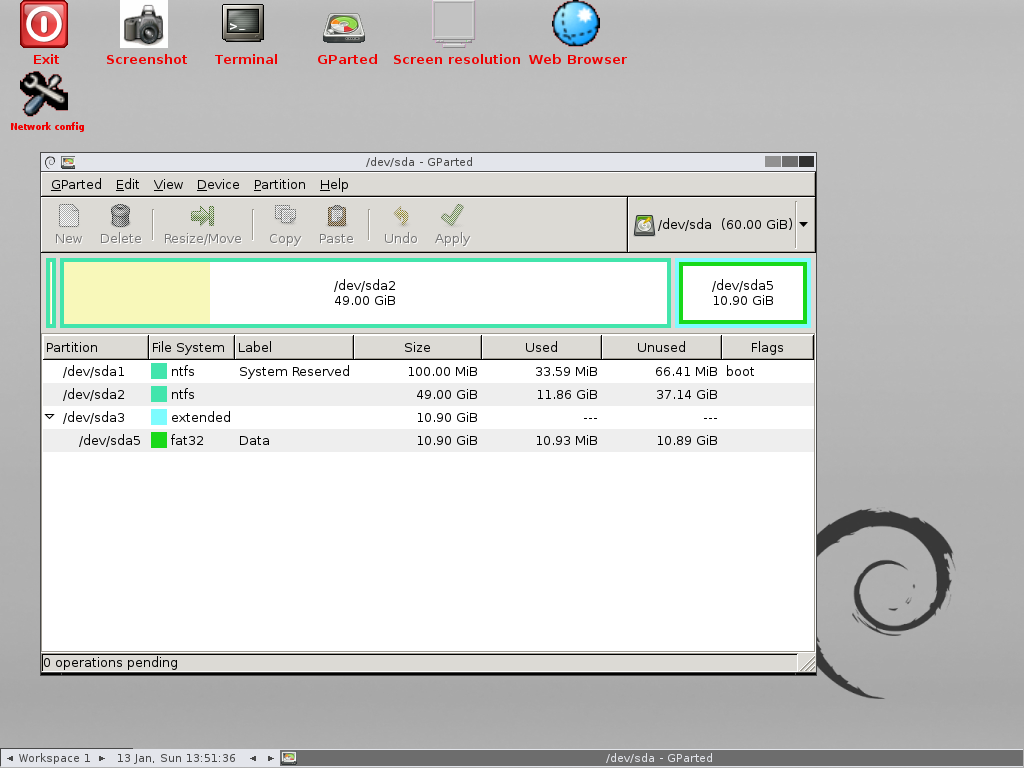
This section describes how to use some of the features of GParted Live.
For instruction on how to use the GParted application, please refer to the GParted Application Help Manual.
The GParted Manual is available on the documentation page of the GParted web site.
Navigating the desktop and applications is often accomplished using a mouse or trackpad. However, all of the functionality is also available using only a keyboard.
Use the following keys for navigating the desktop and applications with a keyboard.
Alt+Tab to cycle through desktop windows.
Alt+
Letterto select the active window menu item identified by an underlined letter in the menu item name.Esc to cancel a menu selection.
Up, Down, Left, and Right arrow keys to navigate up, down, left, and right respectively.
Tab to navigate forward through controls, and Shift+Tab to navigate backward through controls.
Space to toggle selection of check boxes, or to select a radio button.
Enter to select the current choice.
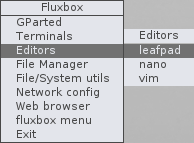
To access the desktop menu:
Position the mouse pointer over an empty area of the desktop. An empty area is a section of the desktop that is not covered by an application window, toolbar, or any other control.
Click the right mouse button. A desktop menu will appear.
Choose a menu entry. For example, the leafpad graphical text editor.

Tip
To access the desktop menu using the keyboard, press the Menu key. On a US keyboard the Menu key is located between the right Windows Logo key and the right Ctrl key.
To dismiss the desktop menu, press the Esc key.
Many commands in GNU/Linux are executed in a terminal window.
Following is a brief description of how to open a terminal window, enter commands, and close the terminal window.
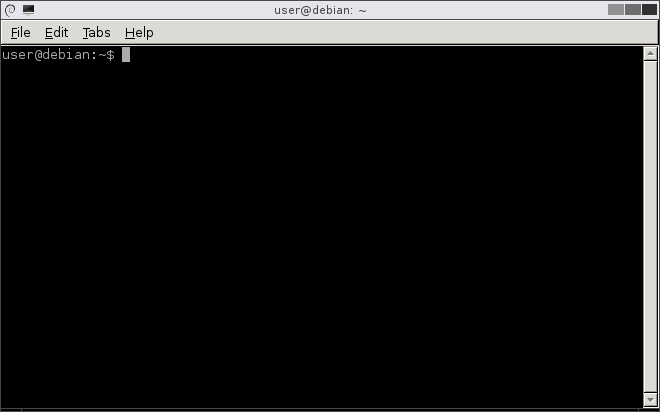
To open a terminal window, double-click the Terminal icon in the upper left hand side of the desktop.
You can enter commands in the terminal window. Commands are entered immediately following the
user@debian$prompt.For example, to list the files in a directory with the ls command, enter:
user@debian:~$lsTip
Working with disk devices often requires root privilege. To acquire root privilege for a single command, add the prefix sudo.
For example, to list MSDOS partition table details for all disk devices, enter:
user@debian:~$sudo fdisk -l -uTo close the terminal window, enter:
user@debian:~$exit
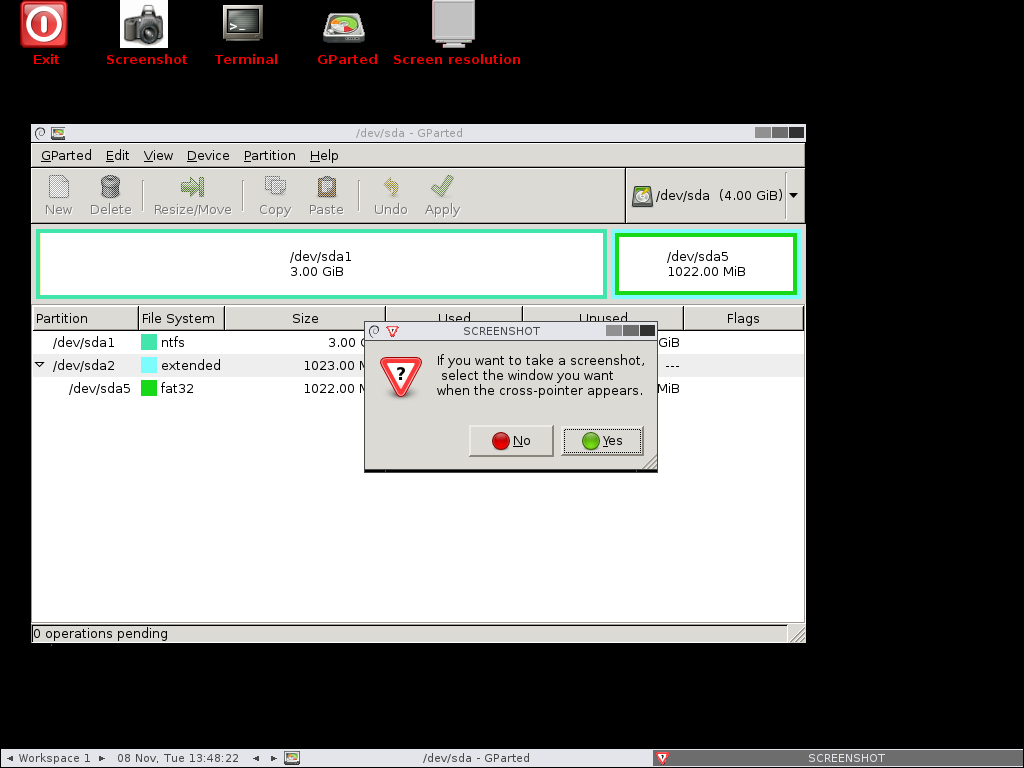
To capture a graphic image of a window in a file:
Double-click the Screenshot icon in the upper left hand side of the desktop.
Click the button. When the mouse pointer changes to a cross-hair, click on the window you wish to capture.
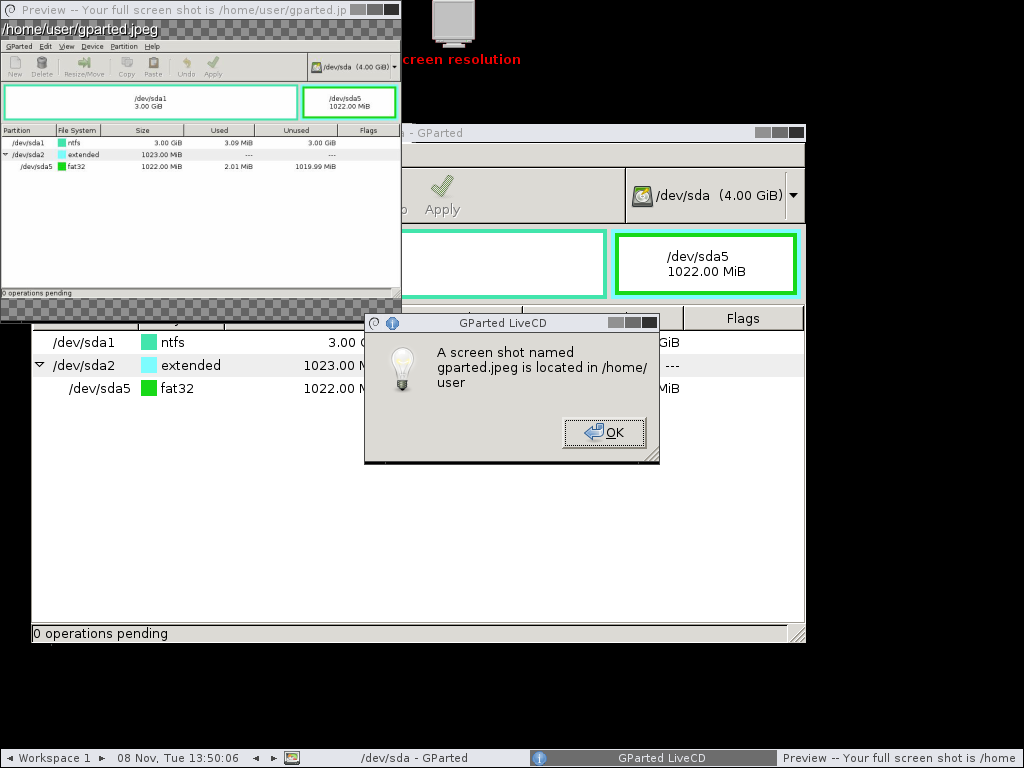
A screenshot preview window is displayed. A screenshot acknowledgement window is also displayed that indicates the screenshot is saved in the file
/home/user/gparted.jpeg.Note
Files saved to the root file system in a GParted Live session are lost when you shut down the computer.
To copy files to more permanent storage see the section called “Copying Files to Other Media”.
To close the screenshot acknowledgement window click the button.
To close the screenshot preview window click the close window icon in the upper right hand corner of the window.
Tip
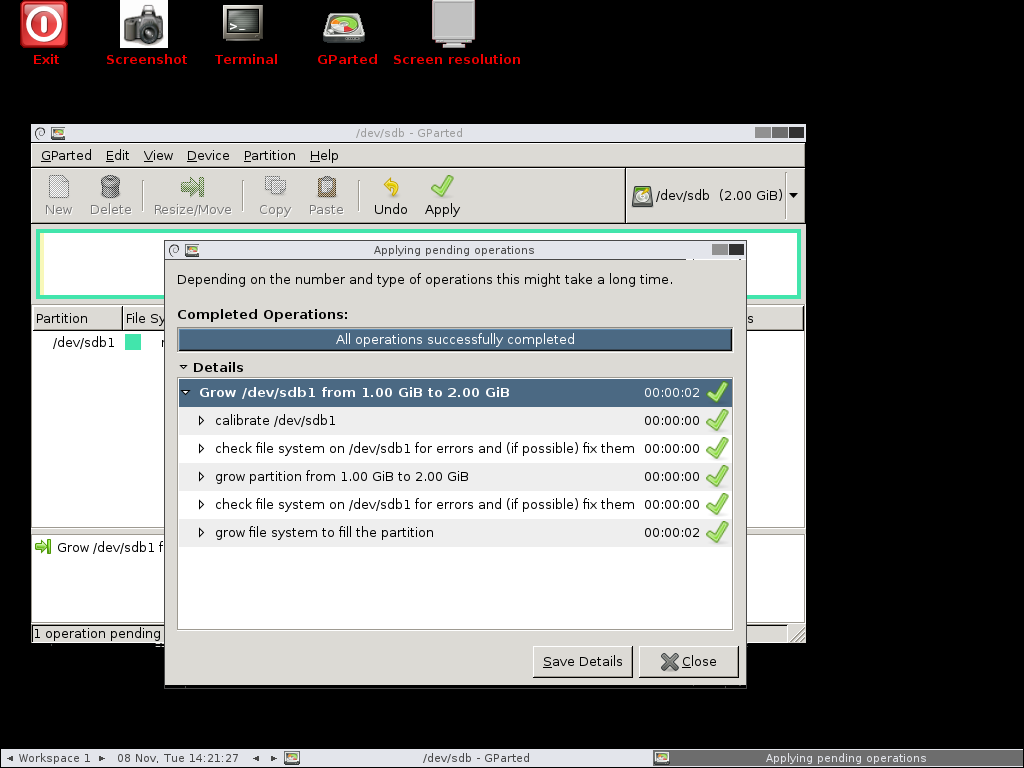
Providing the gparted details log file is very helpful when reporting bugs, or when asking for help in the forum.
To save the details from applying operations:
Click the button in the Applying pending operations window.
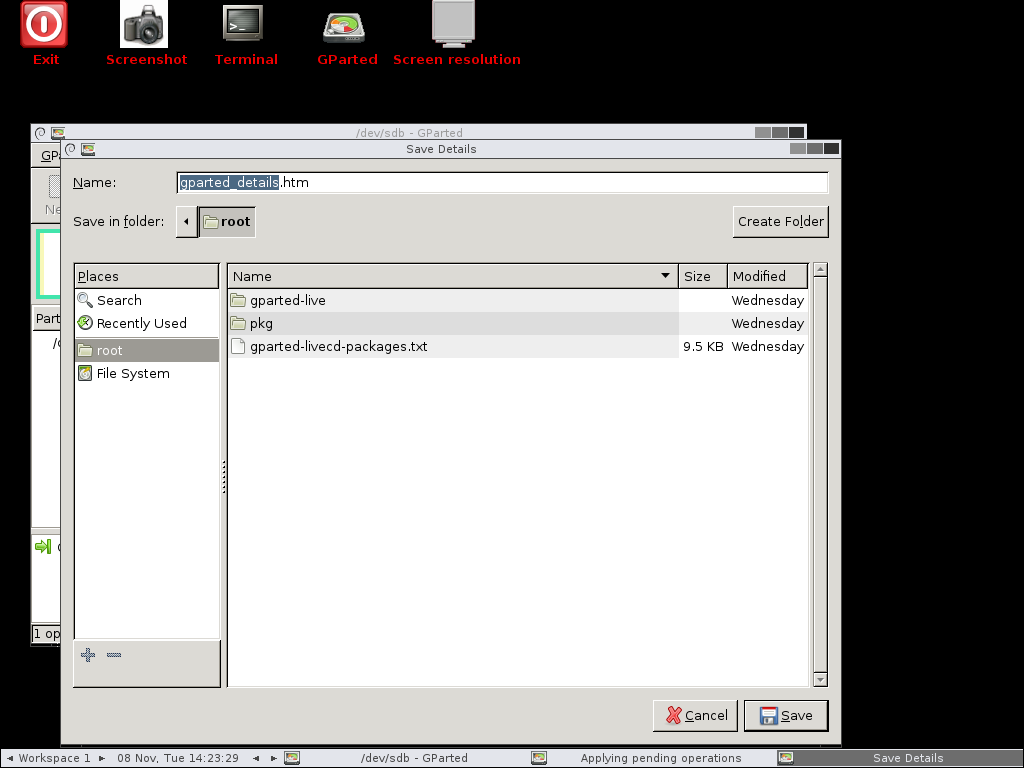
Click the button to save the operation details in the file
/root/gparted_details.htm.Note
Files saved to the root file system in a GParted Live session are lost when you shut down the computer.
To copy files to more permanent storage see the section called “Copying Files to Other Media”.
To close the applying pending operations window click the button.
In a GParted Live session the root file system exists in RAM memory. All files saved to this file system will be lost when you shut down the computer.
Following are instructions on how to copy files to more permanent storage media.
Note
A terminal window is required for the following instructions. See the section called “Working with a Terminal Window”.
Create a mount point directory by entering:
user@debian:~$sudo mkdir /tmp/myusbInsert the USB flash drive into an open USB port.
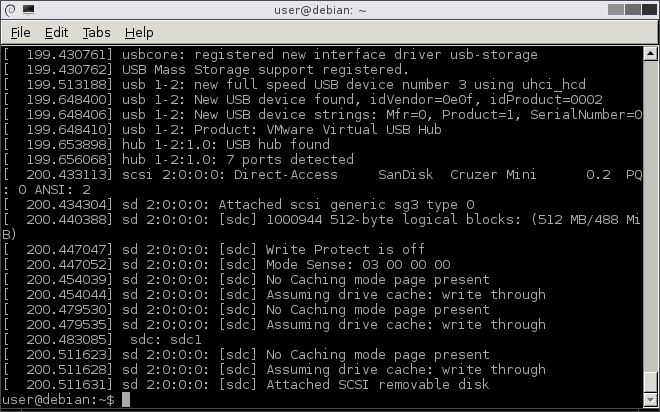
To determine the USB device name, enter:
user@debian:~$dmesgVisually search through the last few lines of dmesg output to find the device name. The device name should be in the form "sdX" where "X" is a lower case letter.
In the above example, the device name is "sdc".
Mount the USB flash device.
For example, if the device name is "sdc", enter:
user@debian:~$sudo mount /dev/sdc1 /tmp/myusbTo copy a file, such as
/root/gparted_details.htm, enter:user@debian:~$sudo cp /root/gparted_details.htm /tmp/myusbWhen you are finished copying files, unmount the USB flash drive by entering:
user@debian:~$sudo umount /tmp/myusbRemove the USB flash drive from the computer.
Create a mount point directory by entering:
user@debian:~$sudo mkdir /tmp/myhdMount the hard drive partition. For example, to mount the first partition sda1:
To mount an NTFS partition, enter:
user@debian:~$sudo mount -t ntfs-3g /dev/sda1 /tmp/myhdTo mount other partitions, such as ext2 or fat32, enter:
user@debian:~$sudo mount /dev/sda1 /tmp/myhd
To copy a file, such as
/root/gparted_details.htm, enter:user@debian:~$sudo cp /root/gparted_details.htm /tmp/myhdWhen you are finished copying files, unmount the hard drive partition by entering:
user@debian:~$sudo umount /tmp/myhd
Create a mount point directory by entering:
user@debian:~$sudo mkdir /tmp/myfloppyInsert the floppy disk into the floppy drive.
Mount the floppy disk by entering:
user@debian:~$sudo mount /dev/fd0 /tmp/myfloppyTo copy a file, such as
/root/gparted_details.htm, enter:user@debian:~$sudo cp /root/gparted_details.htm /tmp/myfloppyWhen you are finished copying files, unmount the floppy disk by entering:
user@debian:~$sudo umount /tmp/myfloppyEject the floppy disk from the floppy drive.
Caution
Do not change the screen resolution while GParted is applying operations. This might cause loss of data.
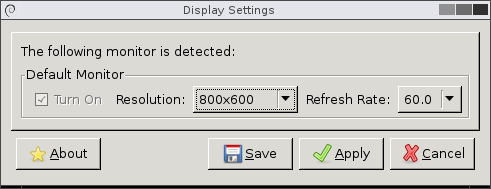
To change the screen resolution:
Double-click the Screen resolution icon at the top of the desktop.
Choose a screen resolution or refresh rate by clicking the or drop-down lists respectively and selecting an appropriate entry.
Click the button.
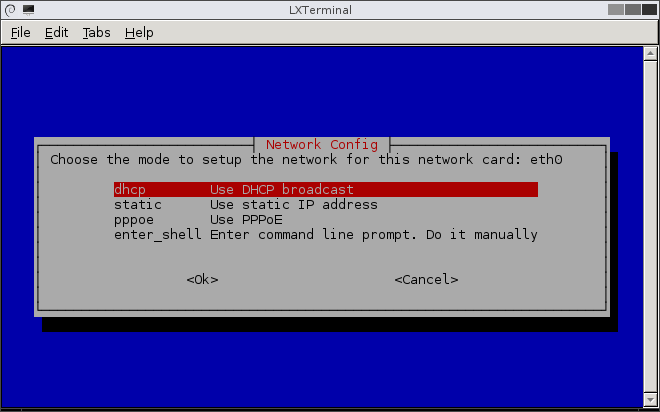
To enable wired ethernet TCP/IP networking:
Double-click the Network config icon in the upper left hand side of the desktop.
Press the Enter key to choose the default DHCP option.
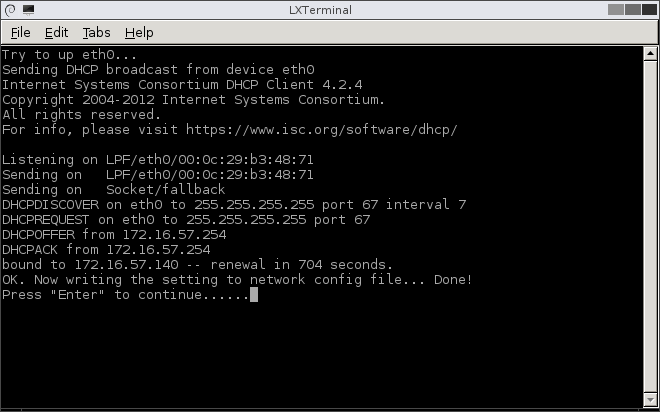
Press the Enter key to dismiss the window containing the network assigned IP address details.
Wired ethernet TCP/IP networking should now be enabled.
With networking enabled you can surf the Internet using the web browser and use network commands, such as scp to securely copy files.
This section describes how to finish your GParted Live session.
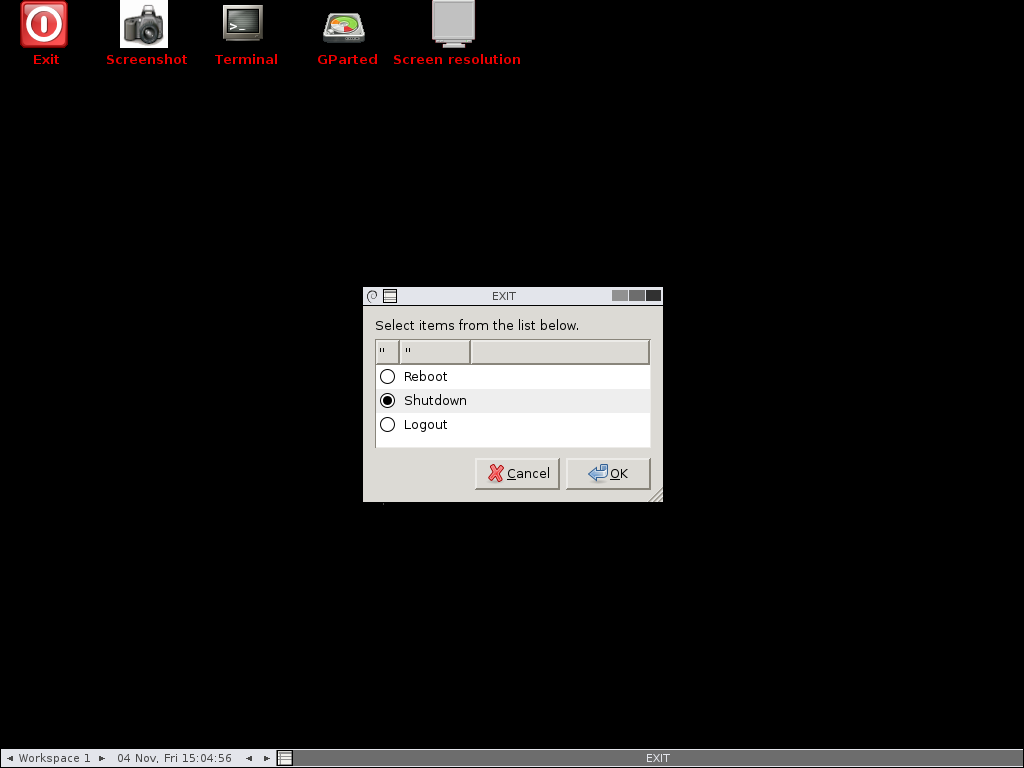
To shut down GParted Live:
Double-click the Exit icon in the upper left hand side of the desktop.
Select the entry and click .
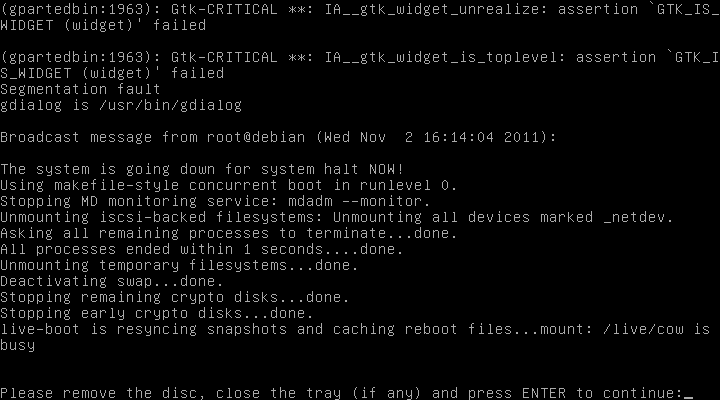
When prompted, remove the CD-ROM disc or USB flash drive and press the Enter key.
Your computer will shut down.
To boot the GParted Live image from USB flash drive or CD-ROM disc, your computer BIOS must be properly configured. More specifically the BIOS must be set to boot from CD-ROM and other removable devices before booting from hard disk drives.
Note
If you have a computer with UEFI firmware then you might need to disable secure boot. When secure boot is enabled it can prevent some operating systems, such as GParted Live, from booting.
To enter the BIOS setup screen on you computer:
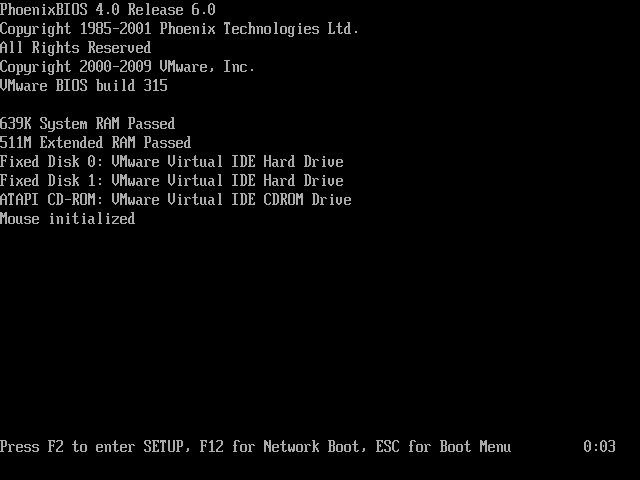
Turn on the power for your computer.
Watch for a screen indicating which key to press to enter the BIOS setup screen.
For example at the bottom of the following screen shot, the F2 is used to enter the BIOS setup screen. On other computers it might be the Delete key, the Insert key, the F9 key, or some other key.
Note
If you do not see a screen that indicates the key to press to enter BIOS setup, then you might need to consult the documentation that came with your computer.
Press and hold the appropriate key, noted from above, to enter BIOS setup.
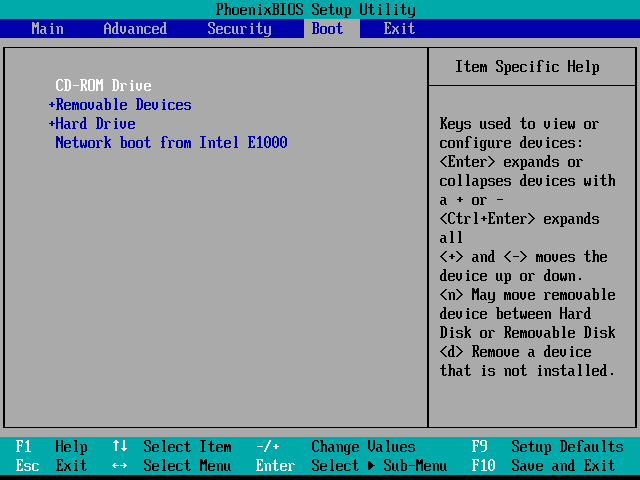
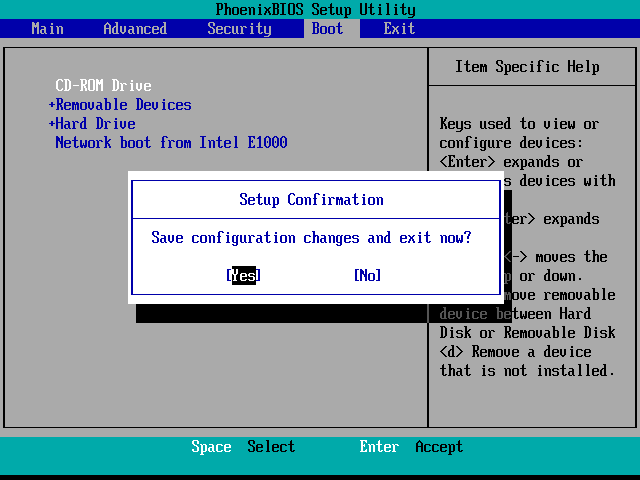
Read the BIOS setup screen instructions to learn how to navigate the menu options and how to change settings.
Change the BIOS boot order so that CD-ROM and removable devices, such as a USB flash drive, are earlier in the boot order than hard disk drives.
Are you experiencing trouble trying to boot the GParted Live image?
If so then here are some tips that might help.
Ensure that the computer BIOS or UEFI firmware is configured properly. See the section called “Appendix A: Preparing BIOS”.
Try using one of the settings under "Other modes of GParted Live", such as:
GParted Live (Safe graphic settings, vga=normal)
GParted Live(Failsafe mode)
Try using 'Forcevideo' to configure X manually.
While booting up, select option "(1) Run 'Forcevideo' to config X manually".
Try a lower screen resolution.
Try a driver appropriate for your video card. Vesa should work with many video cards.
Try a low color depth if your video card does not have much RAM memory.
While one of the settings is highlighted, press the Tab key to display the list of boot options.
If you have Intel i915 graphics, try adding one of:
i915.modeset=0
i915.modeset=1
If you have ATI Radeon graphics, try adding one of:
radeon.modeset=0
radeon.modeset=1
If you have NVidea graphics, try adding one of:
nouveau.modeset=0
nouveau.modeset=1
Try removing all of the modeset parameters listed above.
If you have an IBM NetFinity 5000, GParted might stop booting with "Unable to find a medium containing a live file system"
There's a known issue on this hardware from IBM with the IDE CD-ROM. Add "all_generic_ide" as kernel parameter, i.e. press Tab at the beginning of CD-ROM booting splash screen.
On an IBM NetFinity 5000 server, the GUI starts with a low video resolution. The S3 based onboard video on this IBM server hardware offers 1 MB video RAM only. Use the following extra step to select a higher video resolution:
Use option "1" (configuring X manually) and set the parameters to 1024x768 and 256 colors (8 bpp).
If you are still experiencing difficulty booting GParted Live, then please create a new post in the "Live Media" section of the GParted forum and describe your situation.
